I cannot believe it has taken me over eight months to post my son’s 3rd birthday party from August 11, 2012. This is proof that the book and the move has taken a toll on me.
Well, better late than never 🙂 Enjoy!

This celebrations was far more than just another birthday party, it was a graduation party as well per say. Meaning, we were celebrating the successful completion a full year of speech and applied behavior analysis therapy. He worked so hard to learn new things, learn to talk and modify his behavior and at times I couldn’t bear to see him struggle and become upset day after day, but we knew it was for his best. As the end of his therapy term neared, which coincidentally would be right at his 3rd birthday, it was clear to us he deserved a big party complete with sweets, piñatas, family and friends!
SEE LOTS MORE BELOW….

The theme became airplanes for two reasons – he loves airplanes and they would also symbolize his high accomplishments and ambition. I felt vintage airplanes embodied more of Aiden’s little mister-mister personality and the colors added a touch of childhood nostalgia. We were lucky to have all the details captured beautifully by the lens of Melissa from Melissa Biador Photography.
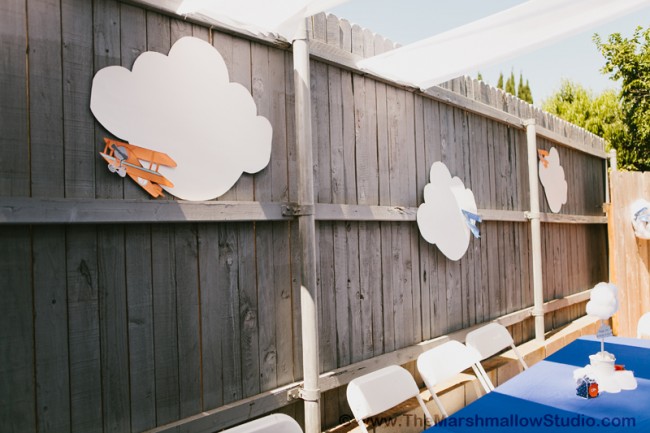
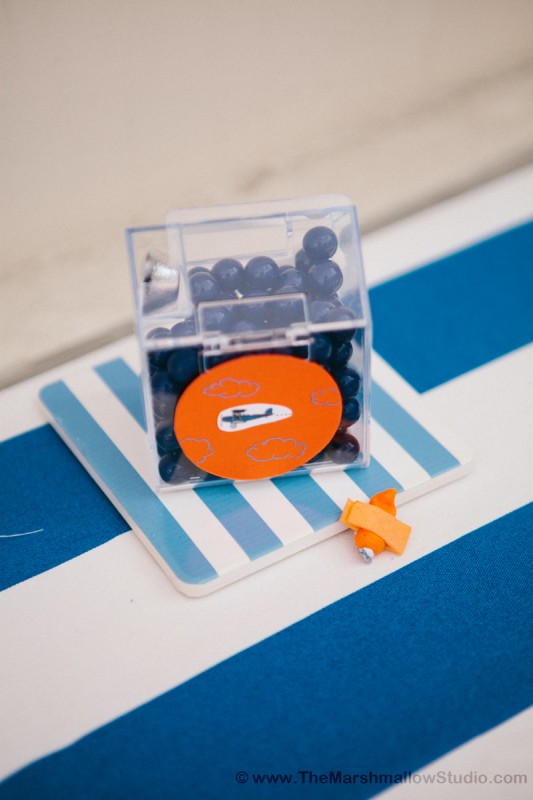
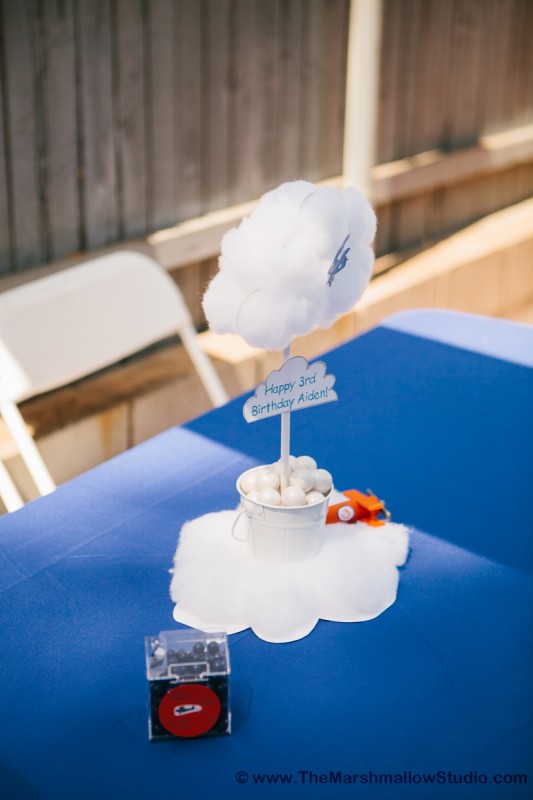
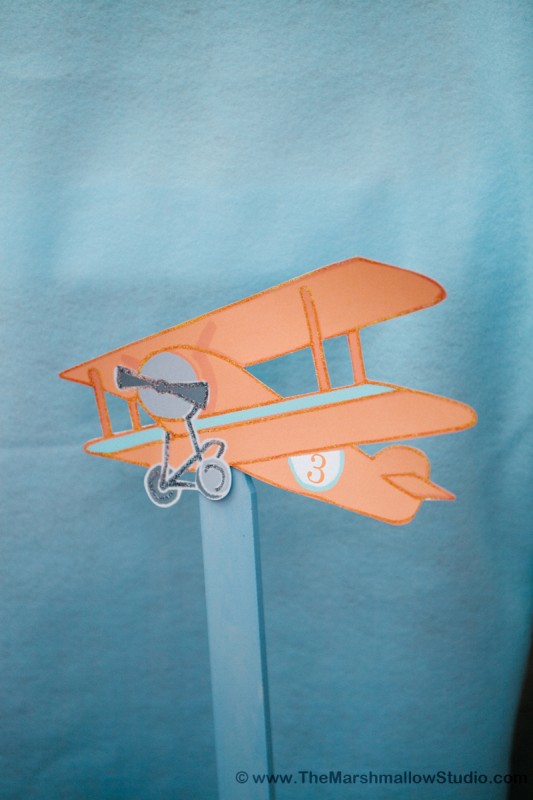
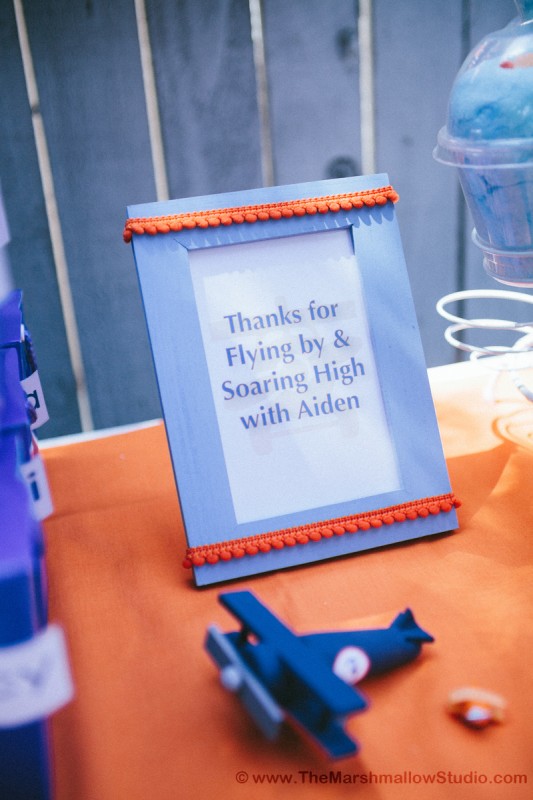
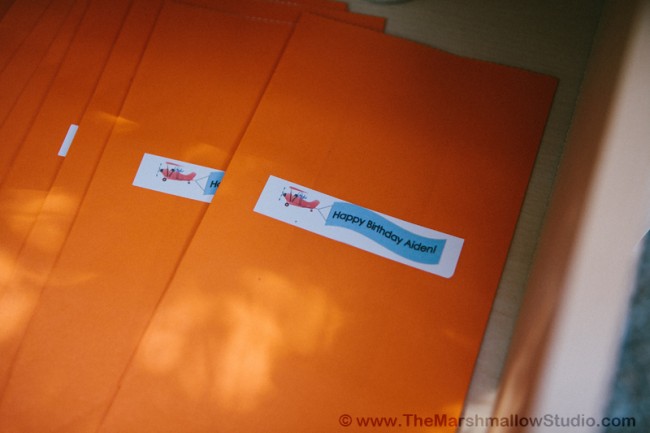
Paper Goods & Party Decór: After deciding on a theme and colors my next step is the paper goods – invitations, signs, decorations, etc. Because I knew I wouldn’t have time to print and cut out my own airplanes, I needed to find a vendor that sold ready to use printed and assembled paper airplanes in my party. Well, Kristen from Mary Had A Little Party was my savior. I was able to order bi-planes and clouds in two different sizes and colors. The large airplanes were mostly hung all over the side fence next to cardboard clouds, a couple were used to decorate the various stations and one for the wreath handing by the entrance. The tiny airplanes were used on the invitations, the centerpieces, the favor boxes and on a few food signs. I used the clouds to make the centerpieces, dessert table backdrop and food signs then hand wrote on them using a blue metallic gel pen. For the invitations, I’m all about getting crafty and making 3D invitations so I purchased blank white folding cards with envelopes at Michael’s to start. Then I printed inside of them making sure the text was tightly centered so I could fold it and cut out the shape of a cloud around three sides of it, leaving the folding part as is. Next, I glued pillow fill over it using a craft glue stick to look like a cloud and finally I glued a tiny paper airplane over it. They were adorable! I used this same concept to make the centerpieces which were cloud topiaries sitting on a cloud inside in a tin full of white pearl gumballs. I also had little candy bins filled with Sixlets on each table.
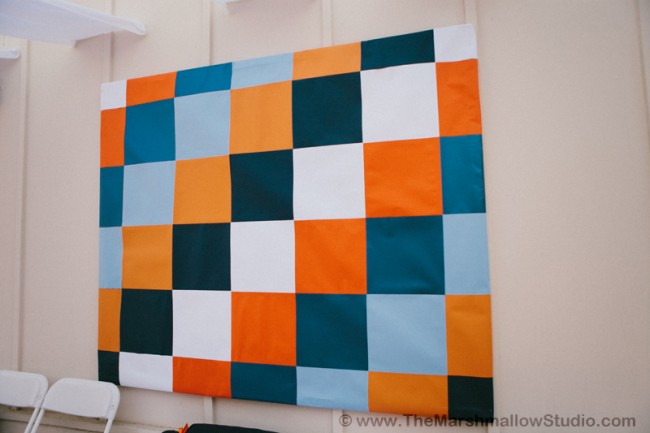
I had the crazy idea to create a huge 6′ by 5′ canvas using scrapbook paper to decorate the side of my house. So I went to Michael’s during their 5 for $1 scrapbook paper sale and stocked up on orange, white, blue and sky blue sheets. With them, I made the canvas, two punched circles garlands, and the letters for the dessert table’s backdrop. I made the frame for the canvas from wood planks then taped the sheets together with duct tape to form like a quilt, then stapled it to the frame. It looked great and now I have it hanging in my kid’s bedroom. We use it to display school art, tape pictures, and more. When we get tired of those colors, we can just switch out the sheets!
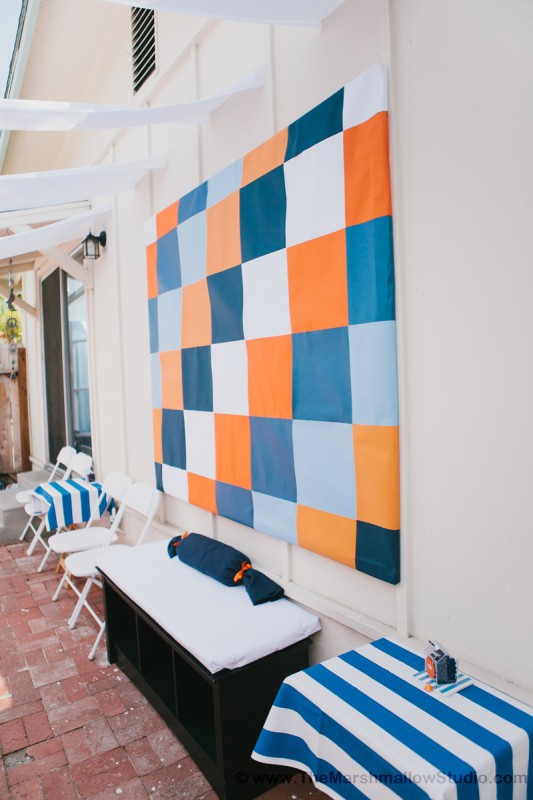
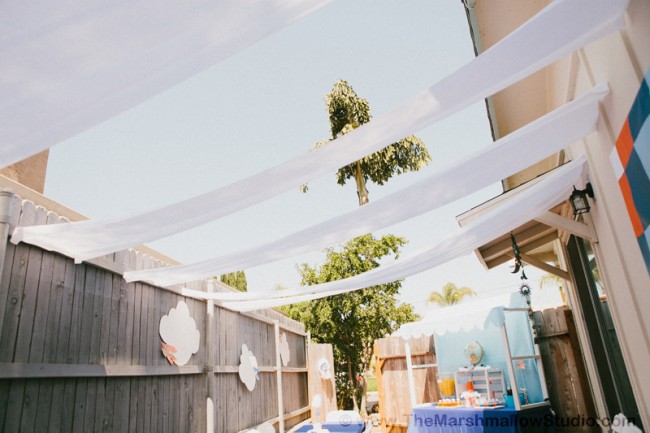
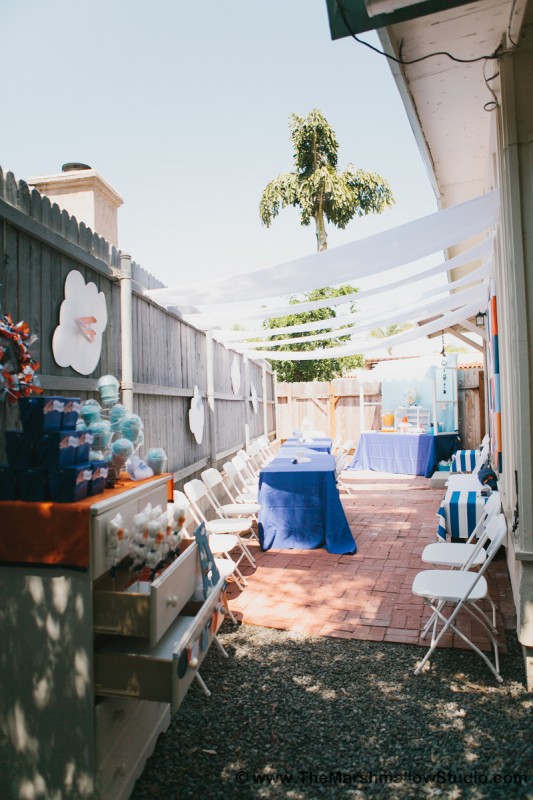
To create a sense of unity and offer shade to our guests sitting down, we draped thin white fabric all along the side of the house over the tables. I purchased the cheapest white fabric I could find at JoAnn and then just stapled it to the fence and then onto the wall. I loved how it looked and how much cooler it was than if we hadn’t done that.
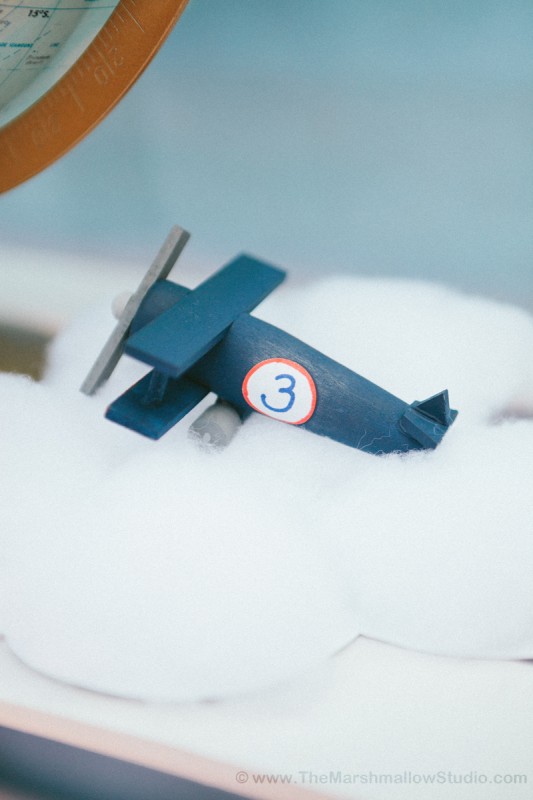

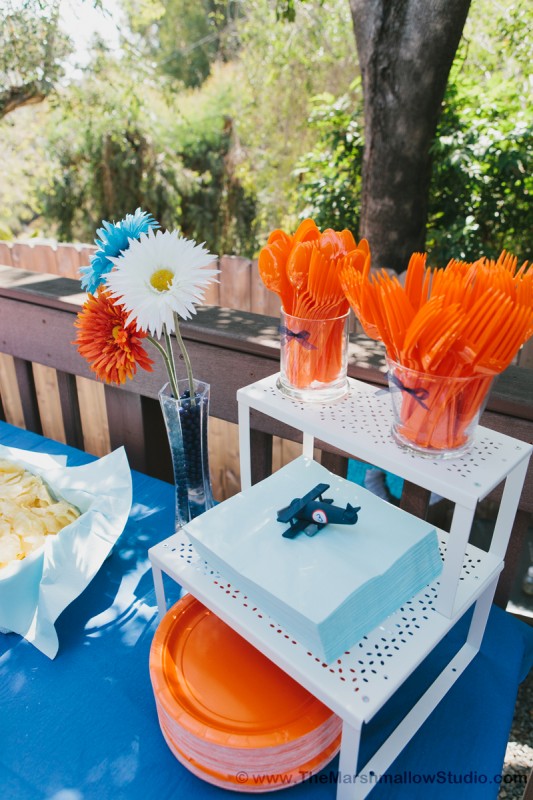
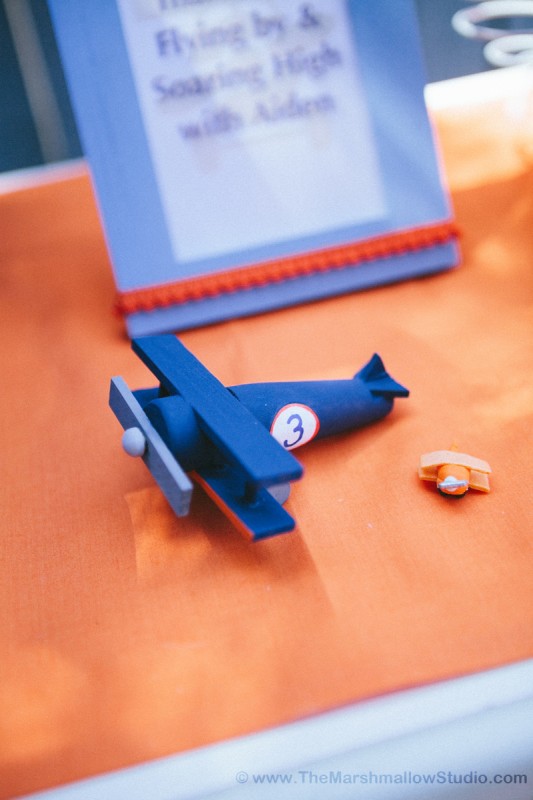
One of my favorite details of this party were the wood planes I purchased from Oriental Trading we hand-painted to match the printables. I used acrylic paints to paint them and circle stickers for the sides. I used them as part of my decor everywhere – on the dessert table, the different stations and centerpieces.


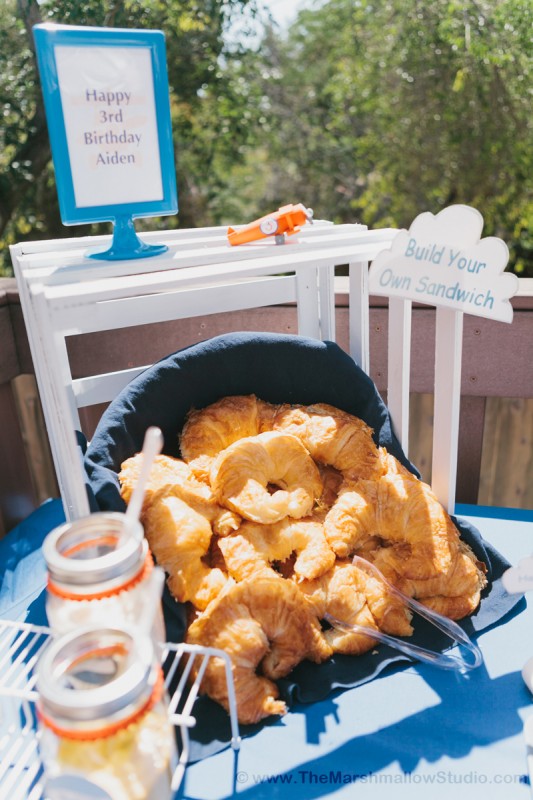
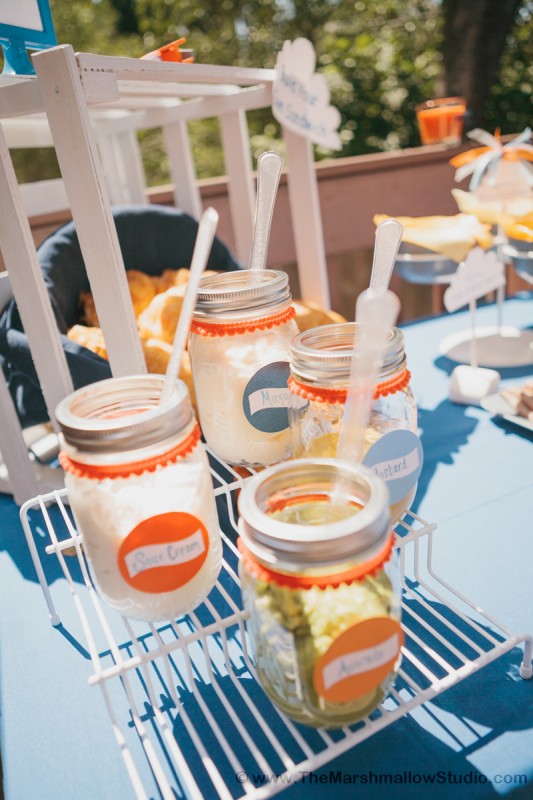

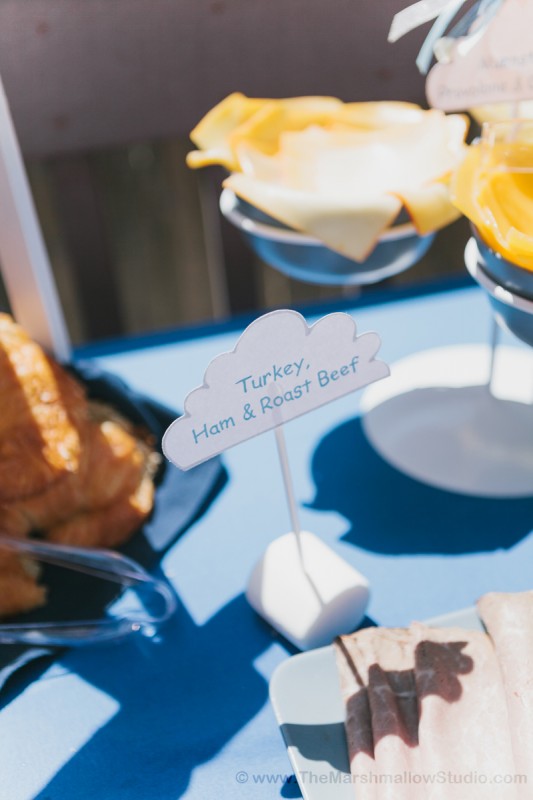


Sandwich Bar: The party was at noon in the middle of August so a refreshing deli sandwich seemed pretty apprpriate. I opted for a sandwich bar complete with three choices of meat, cheeses, spreads, and all the veggie toppings. To kick it up a notch, I served croissants instead of sandwich bread or rolls. I served the spreads on decorated and labeled mason jars.
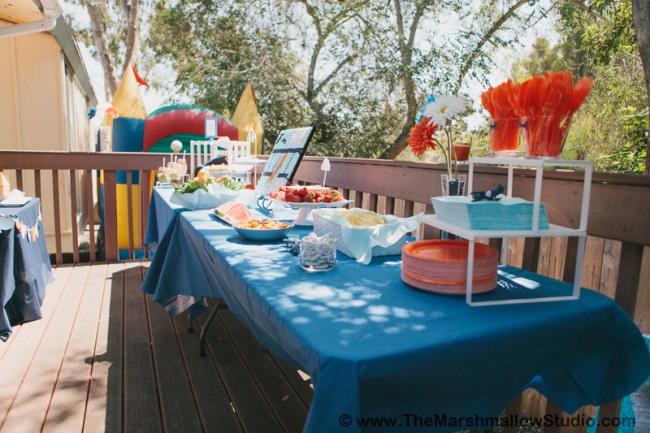

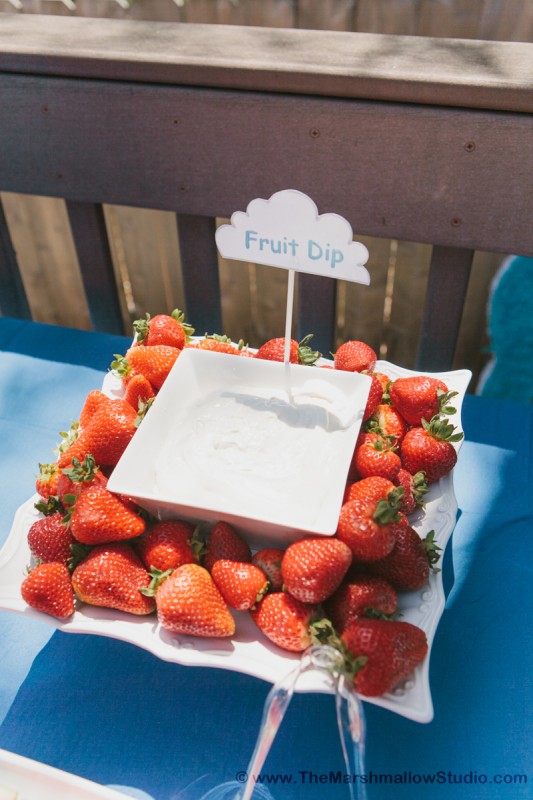
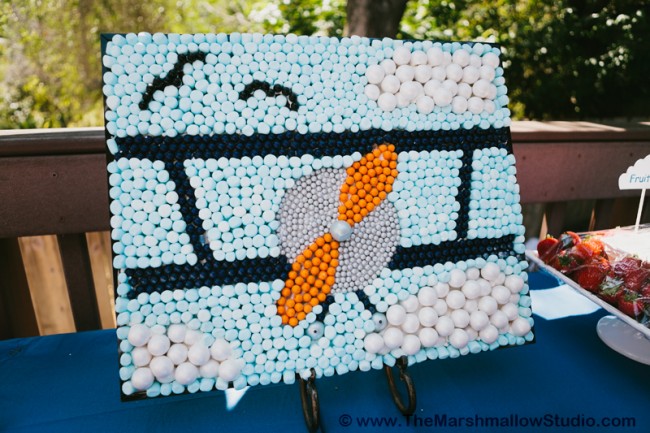
Snacks Station: Next to the sandwich bar I had a snacks station complete with refreshing strawberries and fruit dip, juicy watermelon, salty potato chips, and a snack mix. In between these stations, the main attraction was the Sixlets, gumballs & marshmallow edible art frame – a bi-plane I made just for this party.

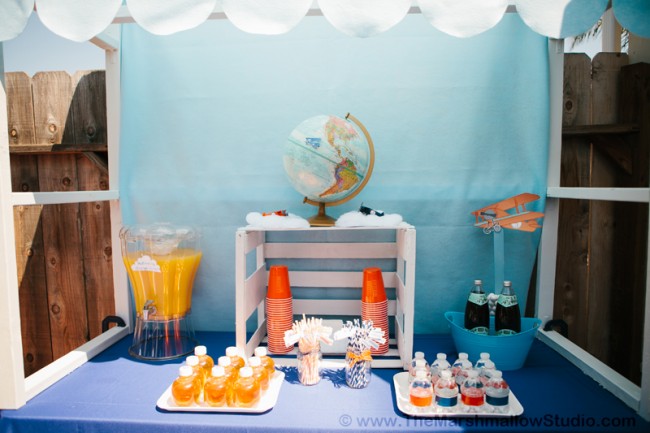
Drinks Station: When you’re hosting a party in the middle of the summer, it’s important to keep drinks cool in the shade, which is why I decided to make a canopy. I first looked online to purchase or rent one but they were all too expensive and not the right size so I just made my own. I purchased wood, a saw, metal brackets, and white paint then got to work. The whole thing cost me about $50. I secured the canopy frame to the table with heavy duty C-clamps and it was pretty sturdy. I absolutely loved how it came out and the fact that I can just change the cover and it can look like a whole different canopy for another party later on. For this event, I used light blue felt I purchased at JoAnn to make the cover because it was inexpensive, heavy enough to not be blowing around and came in a wide enough size to where I didn’t need to sew separate pieces together.
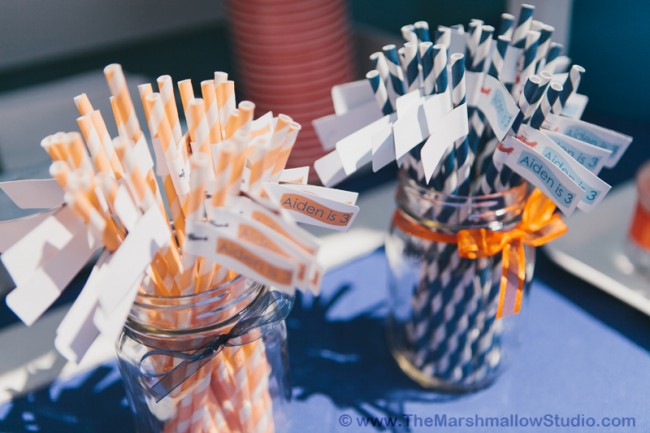
I removed the original water labels and wrapped the bottles with orange and blue duct tape. I printed flags on sticker paper and then attached them to the paper straws I received from Green Party Goods. They looked so pretty on decorated mason jars!
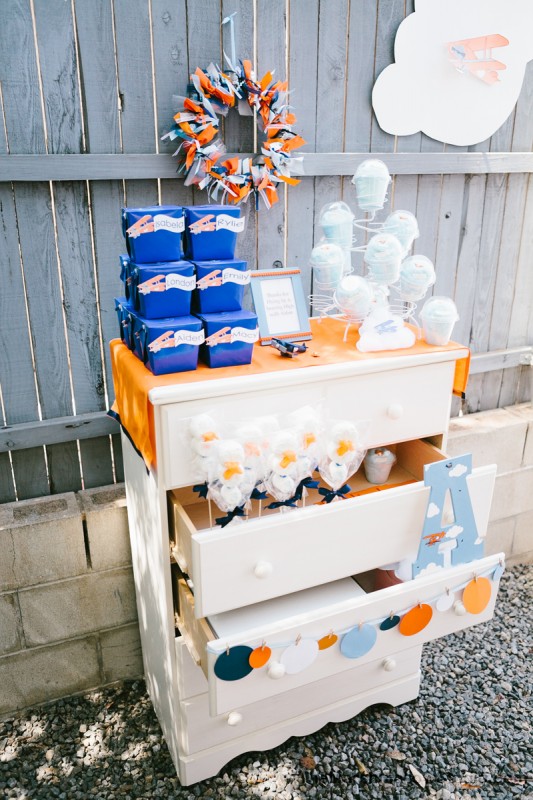
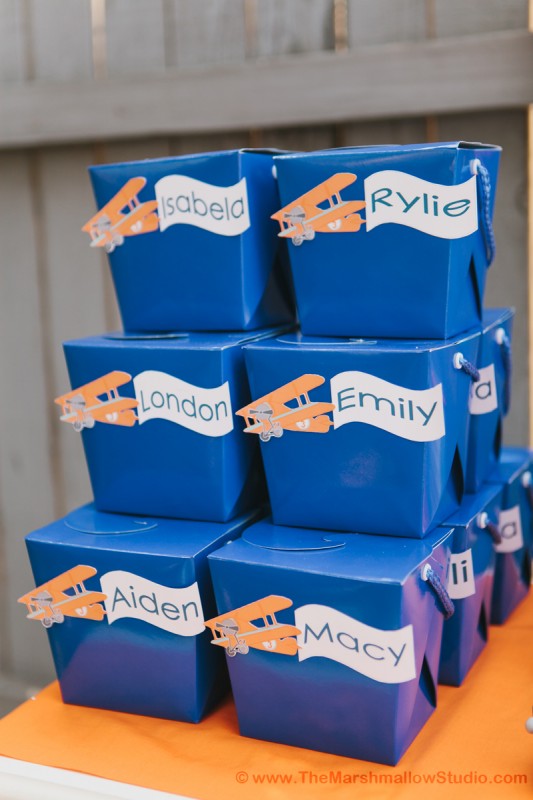
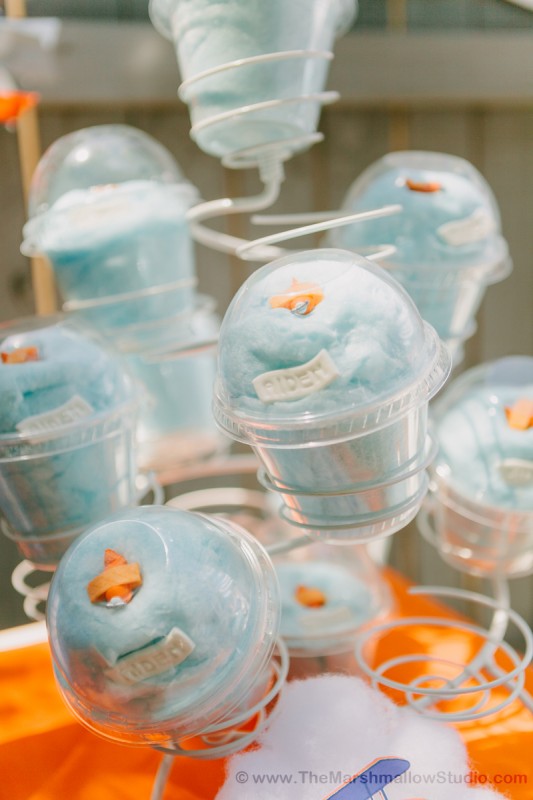
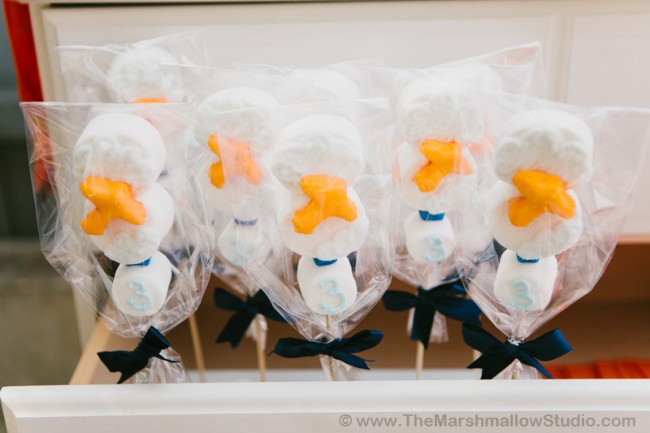
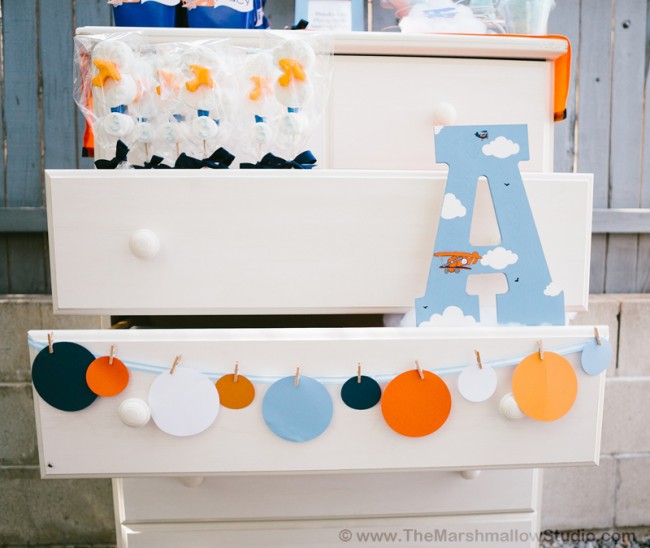
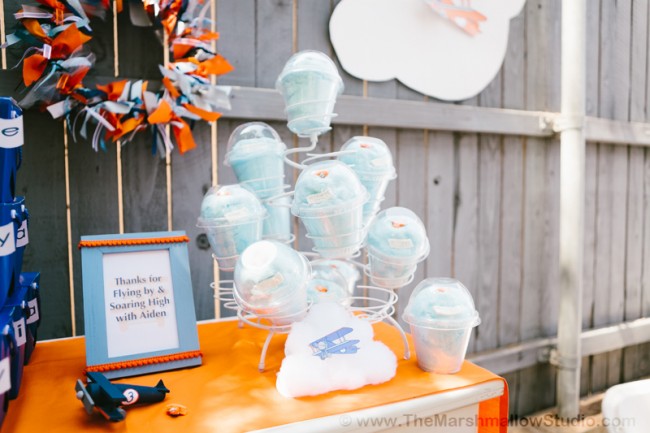
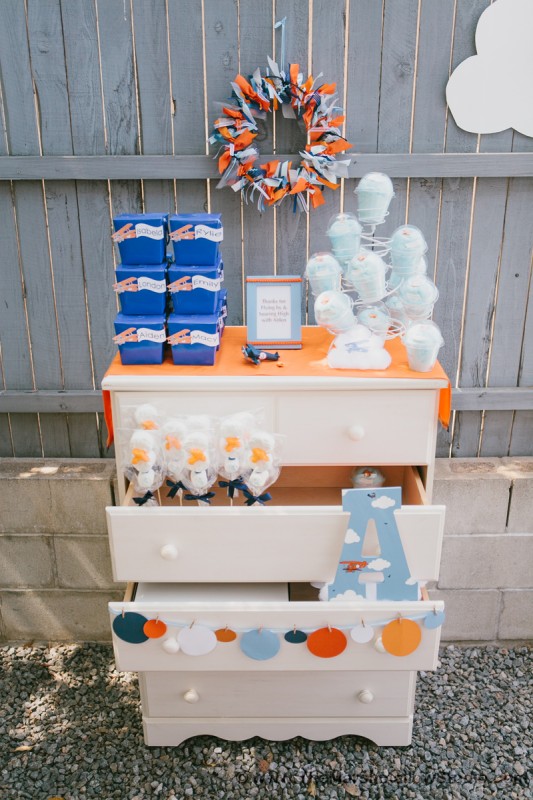
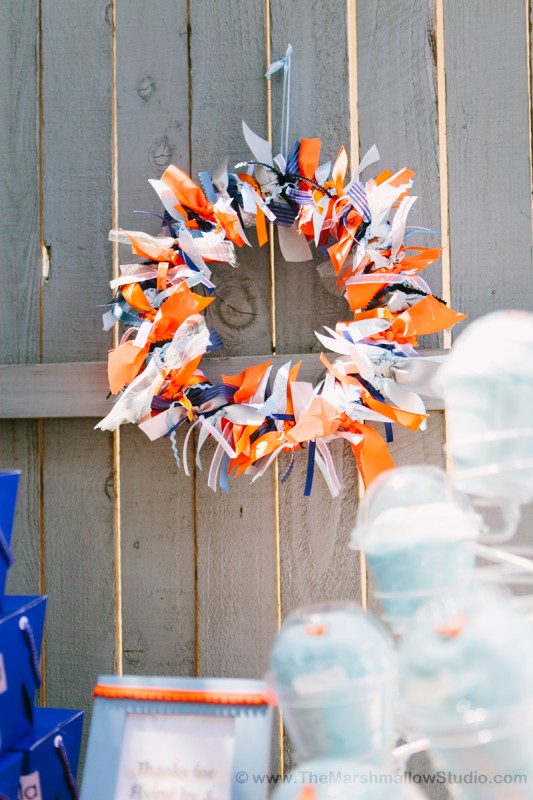
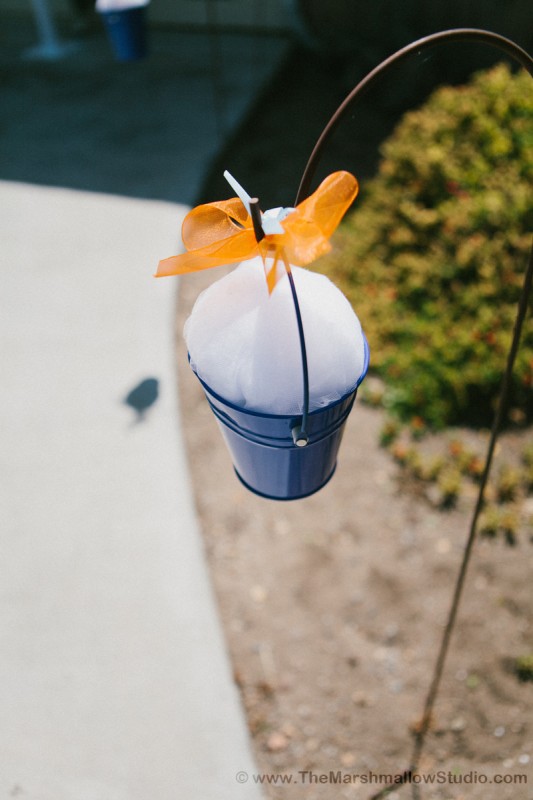
Favors Station: Who would have thought that a dresser would make such a great display for a favors station. I decorated the front by hanging a paper punch garland and a wood letter “A” that I hand-painted for Aiden. As favors, I gave the kiddos personalized Chinese take-out boxes filled with goodies, airplane kites, marshmallow pops I made, cotton candy cups and lots of candy from the two piñatas we got to crack open. I ordered cotton candy cups from Dolly’s Cotton Candy and placed the tiny mini candy airplanes I had made inside each cup along with a fondant “Aiden” banner from Lynlee’s Petite Cakes. These looked super cute and tasted great. The focal point of this station was the gorgeous and perfectly coordinating ribbon wreath my good friend Nancy from A to Zebra Celebrations made. It was absolutely darling!
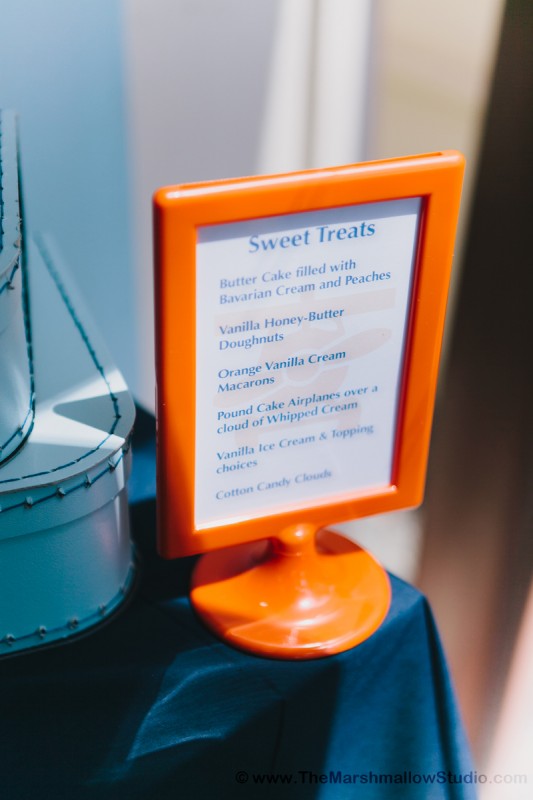


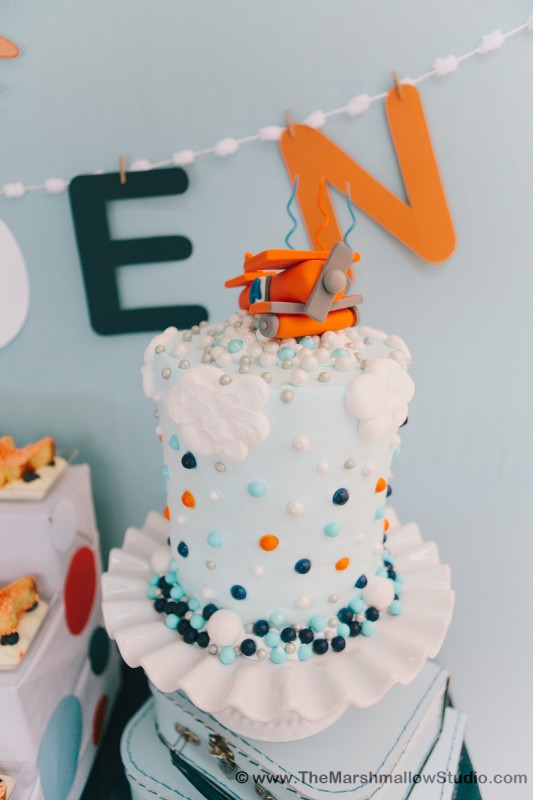
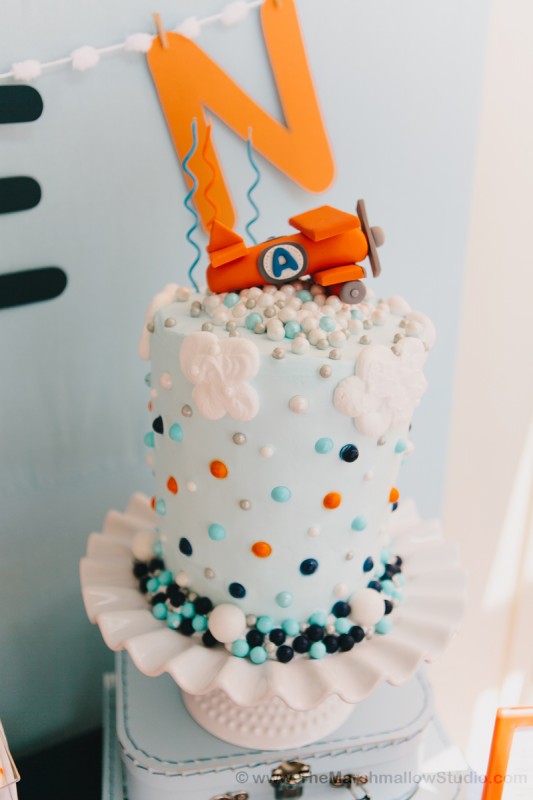
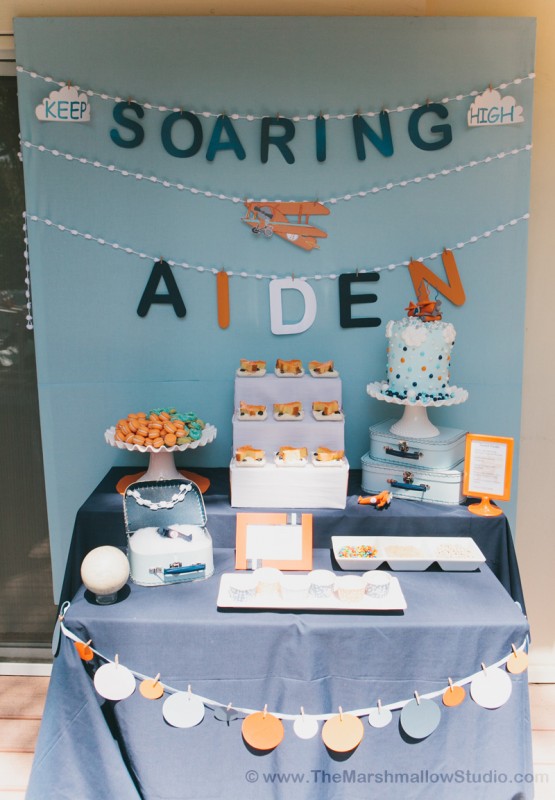
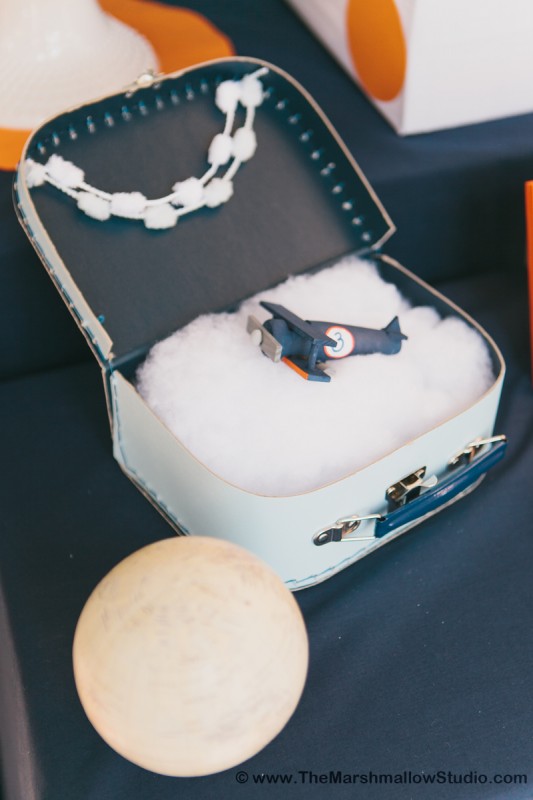
Sweets Table: Oh my, the dessert table is always my favorite and most exciting part of the whole party planning process. Let’s first talk about the show stopper – the cake. My mom, as usual, made the most delicious and adorable cake for Aiden. I asked her to make a tall cake to represent the theme of “Soaring High” and to incorporate lots of candies, clouds and colors. The cake truly matched the whole event… it was perfect! Now let’s talk about the stunning fondant bi-plane Lynlee from Lynlee’s Petite Cakes made. OMG, it looked exactly like the little wood airplanes I had painted. Her talents are beyond amazing and she’s a total sweet heart too. To elevate the cake even more, I used paper suitcases I purchased from Shop Sweet Lulu. I love these because I can use them afterwards to decorate the kids’ room or whatever.


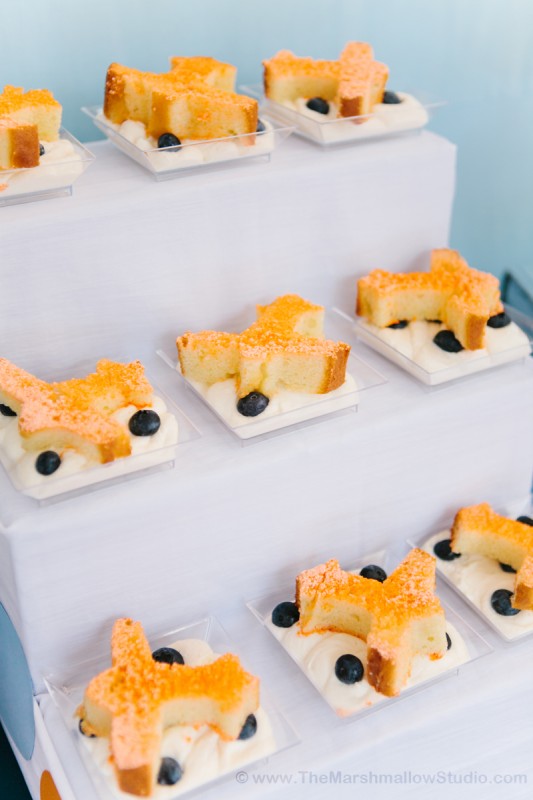

I had the absolute pleasure of having Chef Katie from Le Pop Shop make mini orange vanilla cream macarons for our party. She’s such a professional and these adorable little heavenly bites were delicious. My guests were fighting over them haha. Next to them, I had my itty bitty baby doughnuts I made using SprinkleBakes recipe. They are so very yummy and easy to make. I also served pound cake airplanes over sweet vanilla whipped cream and blue berries. Then to cool everyone down, we had individual servings of vanilla ice cream with chocolate Mallow Bits, mini M&M’s and crushed peanuts as toppings. Tip: scoop the ice cream onto candy cups ahead of time and have them in the freezer ready to go.
For the backdrop, I made a 6′ by 5′ frame from wood planks then stapled fabric over it to create a canvas. Next, I hung yarn from side to side and clipped on the paper letters, clouds and airplanes to say “Keep Soaring High Aiden”. We wanted to add a sweet touch to the party and have our family and friends join in the joy we were feeling for Aiden’s accomplishments so we decided to write a special message and for him and display it on the dessert table for everyone to read.
The party was an absolute blast. Guests, both big and little, enjoyed visiting the various stations and awing over the desserts table. Doing a lot of creative details myself and integrating items I already had into the party allowed me to stay within budget. I had almost as much fun planning and styling this party for my little smarty pants as he did eating all the sweets!

Vendors:
Styling and all other unless noted below: Alejandra from The Marshmallow Studio
Photographer: Melissa Biador Photography
Paper Airplanes: Mary Had A Little Party
Ribbon Wreath: A to Zebra Celebrations
Cake: Carmen Ramirez
Airplane Cake Topper and Fondant Name Banners: Lynlee’s Petite Cakes
Macarons: Le Pop Shop
Cotton Candy: Dolly’s Cotton Candy
Marshmallow Pops and Airplane Candy Art Frame: The Marshmallow Studio
Sixlets & Gumballs: SweetWorks
Paper Straws: Green Party Goods
Paper Suitcases and Ice Cream Cups: Shop Sweet Lulu
Wood Airplanes: Oriental Trading Company
Fabrics: JoAnn Fabric & Craft Stores and Ikea
Scrapbook Paper: Michael’s Stores
You throw beautiful parties! Your kids are lucky to have a mommy like you!!!
Awwww thank you Miriam 🙂
Wow!!! This is awesome. Great job. I love it all.
Thanks Amy!
Absolutely fabulous! I love all the handmade details, especially the edible art frame!! Did you use candy melts for the ‘glue’?
Thanks Dawn 🙂 no, I used royal icing.