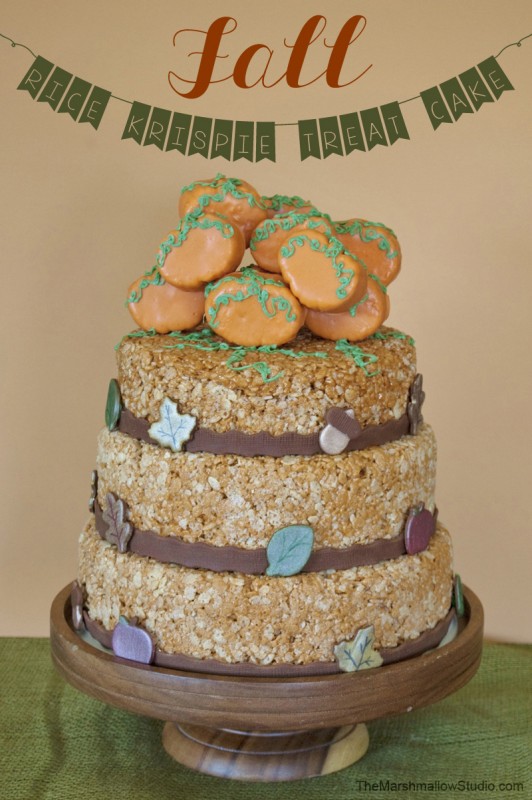
Ooooh… I’m super excited to share with you another fun little DIY treat for this Fall or Thanksgiving.
You KNOW my favorite season of the year is Fall and there’s inspiration everywhere (well, mostly on Pinterest and Instagram because sadly there isn’t much of Fall going on in Las Vegas, ever). Anyway, recently I made a Pumpkin Spice Rice Krispie Treat Bundt Cake drizzled with caramel for KraftRecipes.com and it left me wanting more. It was so good and easy to make that I knew I had to keep rolling with it. I remembered seeing the fabulous girls of Anders Ruff make several Rice Krispie Treat cakes in the past and thought…. I’ll make one for Fall!
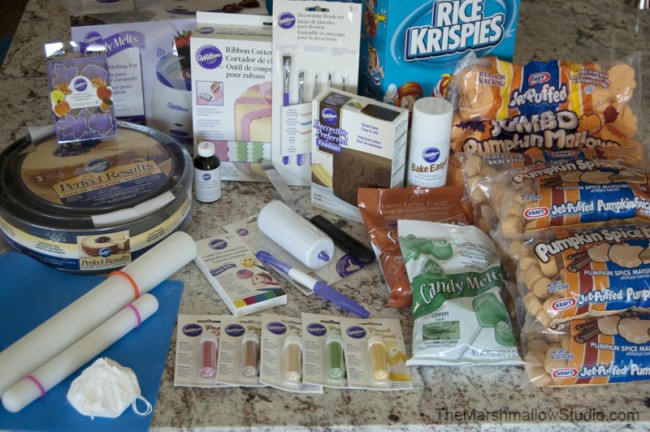
I had the opportunity to once again partner up with Wilton to create a yummy tutorial that you could recreate at home. They have so many wonderful products that it really makes it easy for anyone to get crafty regardless of skill level.
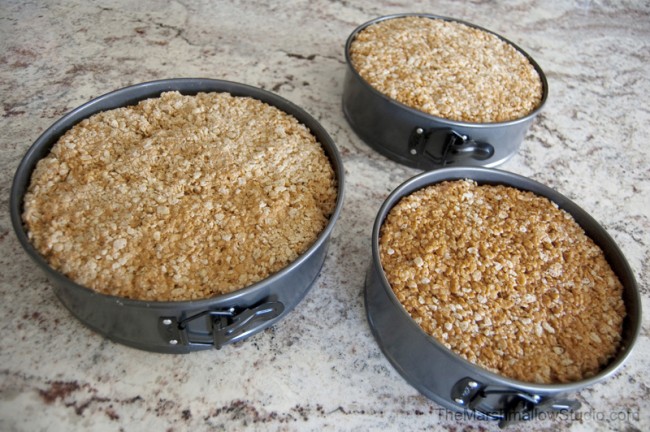
I started off by making my famous Pumpkin Spice Rice Krispie Treat Recipe (well, more like 4 1/2 batches of it). The Wilton Perfect Results spring pans were perfect for the size of the cake I wanted. It comes with an 8″ a 9″ and a 10″ pan.
To fill the 8″ pan I made 1 recipe. For the 9″ pan I made 1 1/2 recipe. And for the 10″ pan I made 2 recipes. You can find the complete recipe HERE.
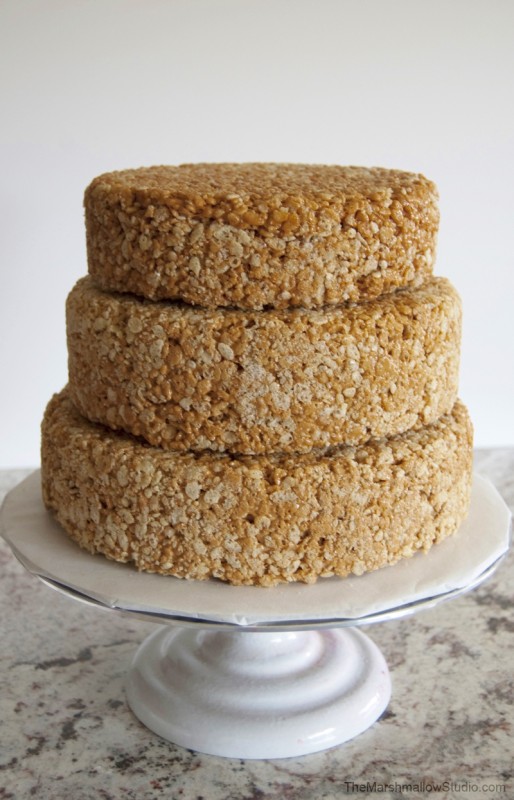
After letting the treats cool in the pans for 30 minutes, I took them out of the pans and stacked them right on top of each other. No frosting needed. Set aside and get working on the decorations!

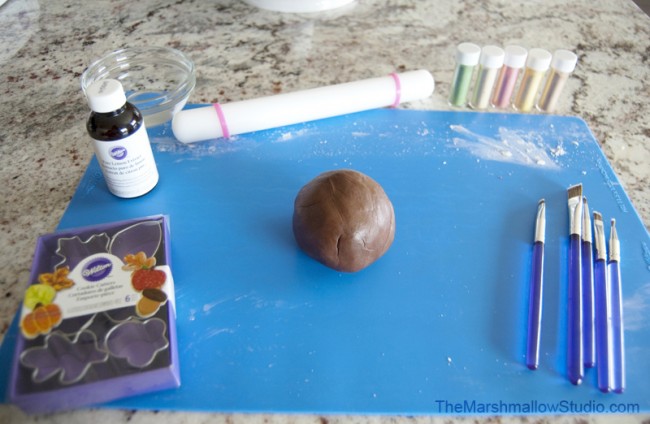
As you know, I’m a huge homemade marshmallow fondant fan…. with all the marshmallows I have in my studio it’d be crazy not to make my own fondant; however, I will admit that having a second option is awesome. I am in love with the new Decorator Preferred Fondant from Wilton. The one I used for this project was already colored brown and it tastes like yummy chocolate. It just went with my crispy cake perfectly!
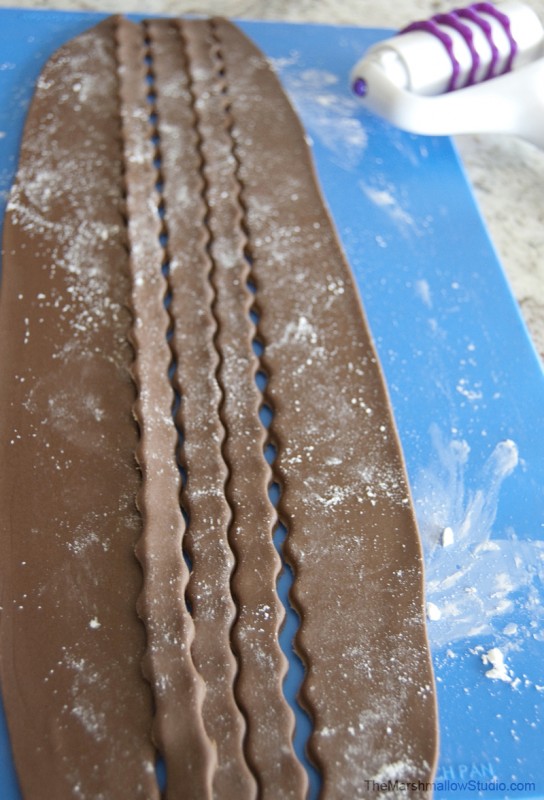
I rolled out about a quarter of the packaged fondant onto my silicone mat with my Wide Glide rolling pin using a 1/8″ guide.
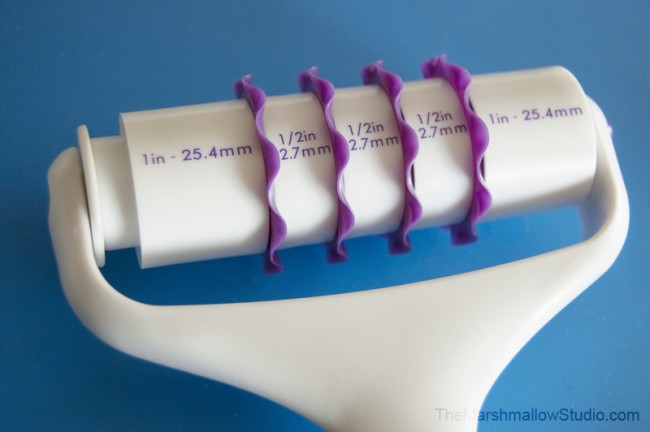
Next, using the fabulous new Decorate Smart Fondant Ribbon Cutter Set I (seriously without any effort) cut out three ruffled strips of fondant for each cake tier.
I could NOT believe how freakin’ awesome this little tool was.
In the past I had to roll out my fondant, use a stencil and very carefully cut out 6″ at a time making sure they all lined up. Now all I have to do is roll the ribbon cutter over my fondant and done! It’s amazing. It comes with straight, zigzag and wavy rings as well as spacers in different sizes so you can create anything you’d like.
I’m in love with this new product from Wilton.
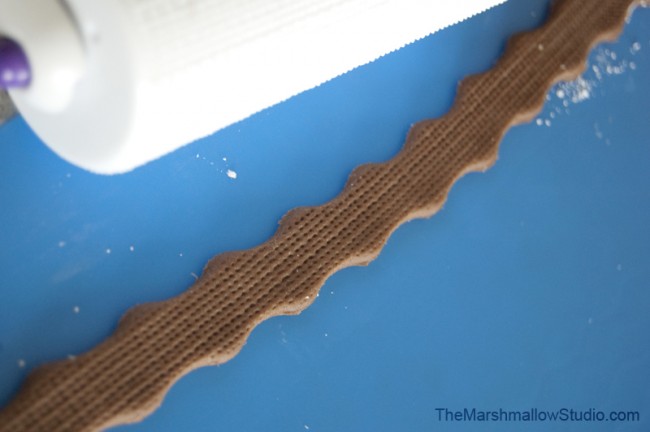
To top it all off, they also now have a Burlap Pattern Roller that I can use to add texture to my fondant. You KNOW I’m a rustic everything type of gal and this was like heaven sent for me!

I wrapped the bottom of each tier with my burlap textured fondant wavy ribbons. Doesn’t it already look darling?!
Confession : This was the VERY FIRST TIME I dipped marshmallows in candy melts. EVER!
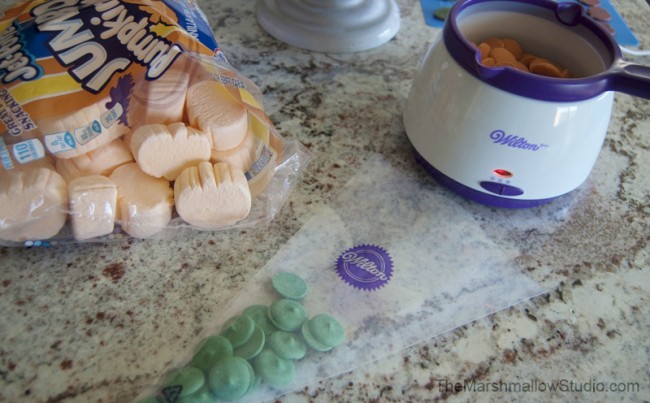
I was very nervous to do it as I had heard many things about the consistency not being right, the marshmallows falling, the candy melts burning, etc, etc. I put my fears aside and gave it a shot. I felt so fancy and lucky to use my new Candy Melting Pot. To make sure I was doing things right, I followed the instructions on the packaging of the candy melts and the melting pot. It could not have been easier and I really enjoyed trying a new way to decorate my marshmallows.
I used the limited edition Pumpkin Spice Candy Melts for the Jet-Puffed Jumbo Pumpkin Mallows and Green Candy Melts for the vines I piped all over.
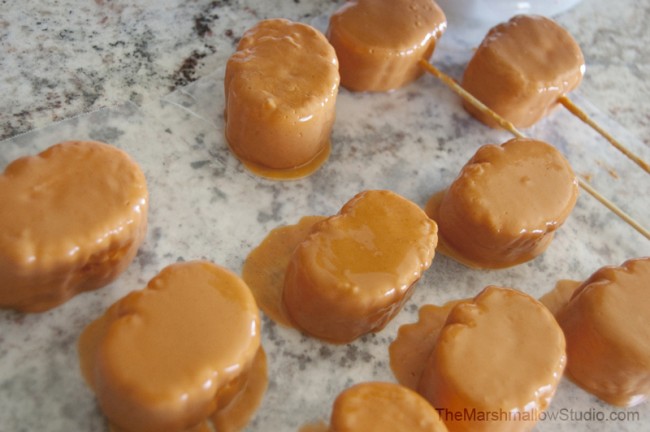
Place the pumpkins aside to set on a piece of wax or parchment paper. As you can see, I used skewers but I sure wish I had had a set of dipping tools. Having the right tools always makes crafting, cooking, baking and whatever else more enjoyable. I wanted them to set fast so I placed them in my freezer for about 30 minutes.
While my pumpkins set in the freezer, I started working on the fondant decorations that would go around the cake.
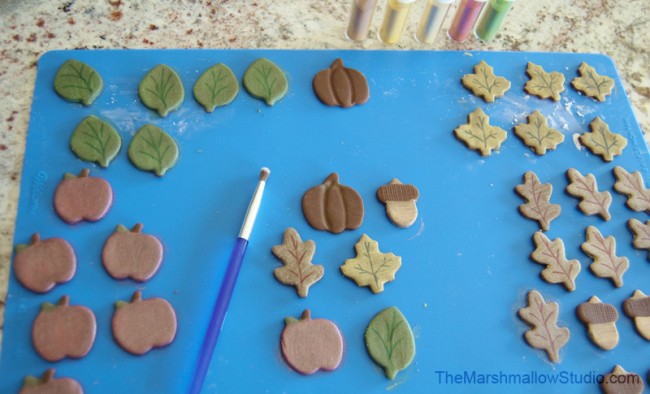
Using my 9″ rolling pin and 1/8″ guide, I rolled out a ball of fondant then used the Harvest Mini Cutter Set to cut out several leafs, pumpkins, acorns and apples.


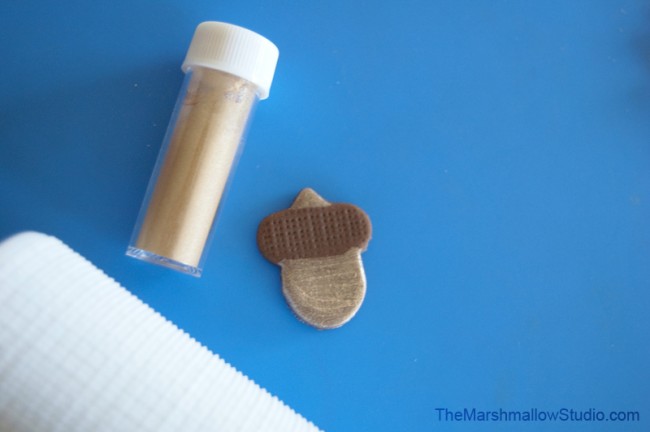
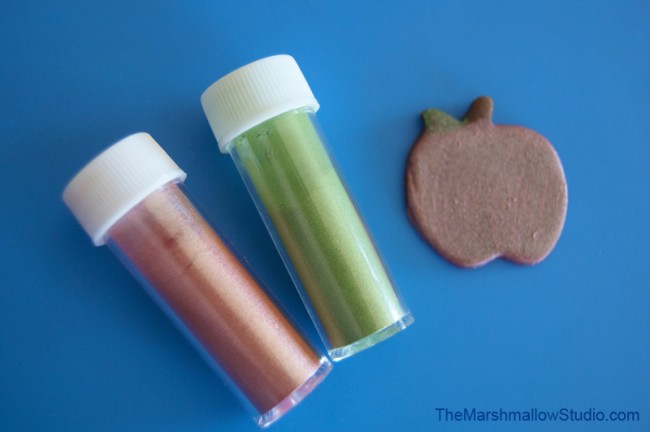

I used a decorating brush and pure lemon extract to to “paint” each piece with pearl dusts. The lemon extracts helps bring out the pigments of each dust and you’ll achieve a thicker coat on your pieces.
I drew details on each leaf using Candy Decorating Pens. Oh and check out the texture on the acorn, I used the burlap roller here again.
Although I didn’t end up using the pumpkin fondant decorations, I still wanted to show you how you could use the back of a decorating brush to make the pumpkin grooves.
Set these aside to dry a little while we work on the pumpkin topper.
I made a lot so I could use the left overs on top of my cookies and cupcakes I plan on making soon. During this season, I can’t stop baking all kinds of goodies 🙂

Back to my candy dipped pumpkins…. now that they have set, I pulled them off the wax paper and arranged them on top of the cake. I used a few bamboo skewers to secure them in place.
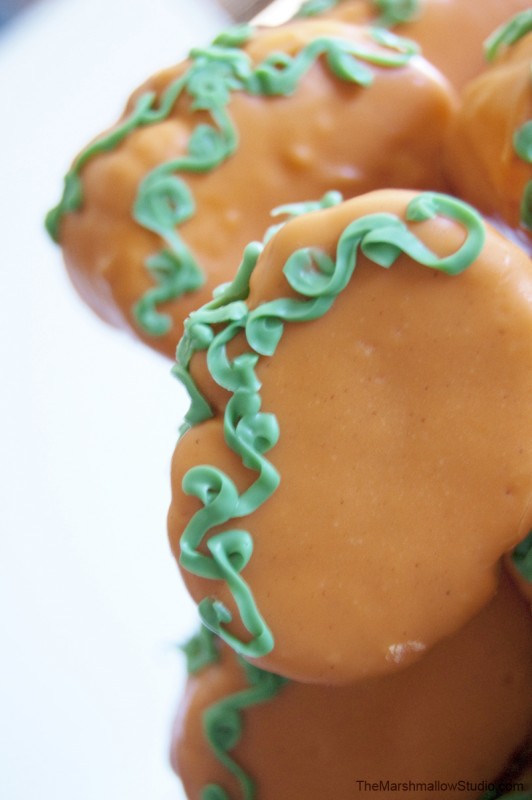
In the microwave, I melted about half a cup of green candy melts in a decorating bag then snipped a very tiny hole on the tip. I gently squeezed all the candy the tip and piped little vine swirls all over the pumpkins and top of cake. If I had had chocolate handy, I would have also added stems to each pumpkin but I think they look cute like this too.

Pumpkin patch!!!

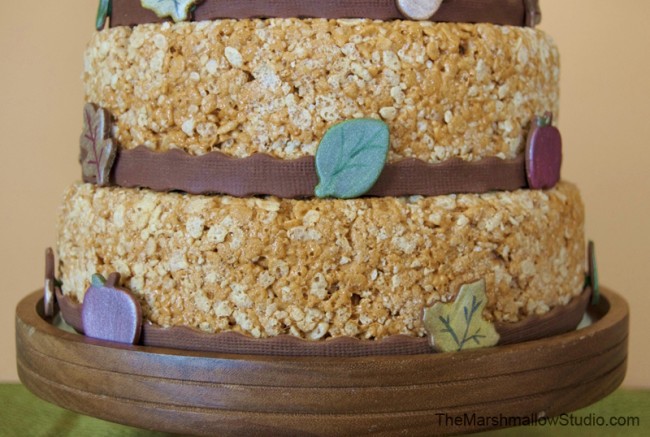
For the final step, I used the left over green candy melts to attach the fondant decoration around the cake. Make sure to only use very little so the candy doesn’t gush out.

So what do you think? Is this something that will “WOW” your friends and family during your Thanksgiving feast?
I bet everyone would love it!!
Disclaimer: This is a review post for Wilton products that were provided to me at no cost in order to for me to create a recipe/craft. I was not financially compensated and all opinions are genuine and my own. I only endorse and use products that I absolutely love and believe in.
Leave a Reply